Marker Tutorial
Example marker
Before the start – What to consider
Picture
A good picture for a marker (or aka image-based target) has high contrast areas and maybe also irregularities in the picture. Not more than 2MB in size. You can use the quality check in heijar`s CMS to make sure that your picture is suitable for a marker (5 star rating).
In the case that you want to delve further, we recommend reading the following short article https://library.vuforia.com/features/images/image-targets/best-practices-for-designing-and-developing-image-based-targets.html
Other markers
On request, we can provide you with a marker which is a geolocation or a 3D object.
Start – Ready to go
Step 1
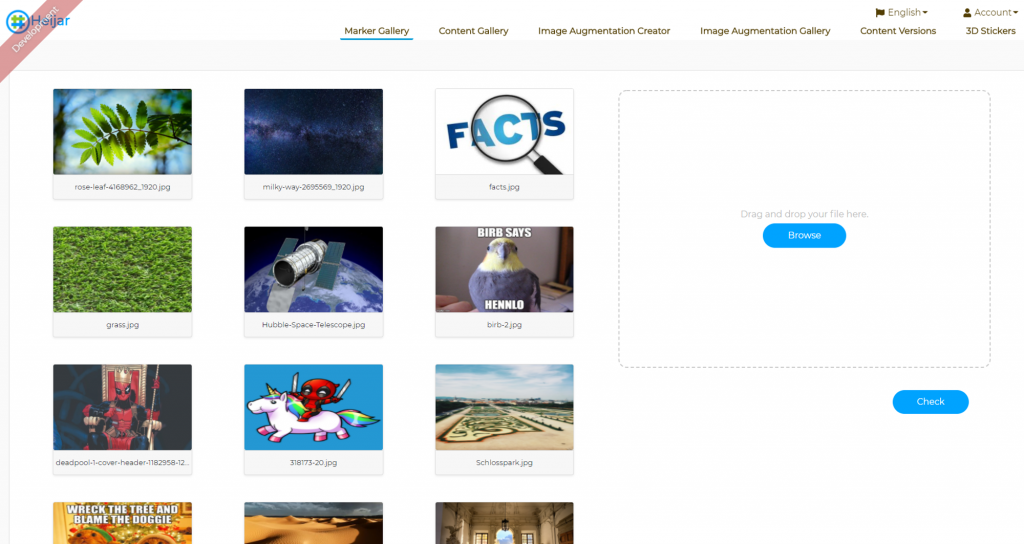
After logging into heijar`s CMS, go to the Marker gallery tab.
Step 2
Upload your picture via the browse button or drag it into the designated field on the right.
Step 3
Klick the blue check button to access the quality of your chosen picture.