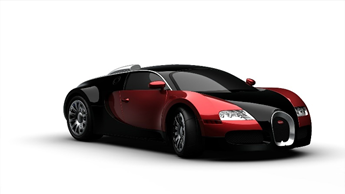
3D model Car
All about 3D Models & 3D Stickers
After this tutorial you should know how to choose a good 3D model (or 3D sticker😉) and how to use the Content gallery in the heijar CMS.
Before the start – What to consider
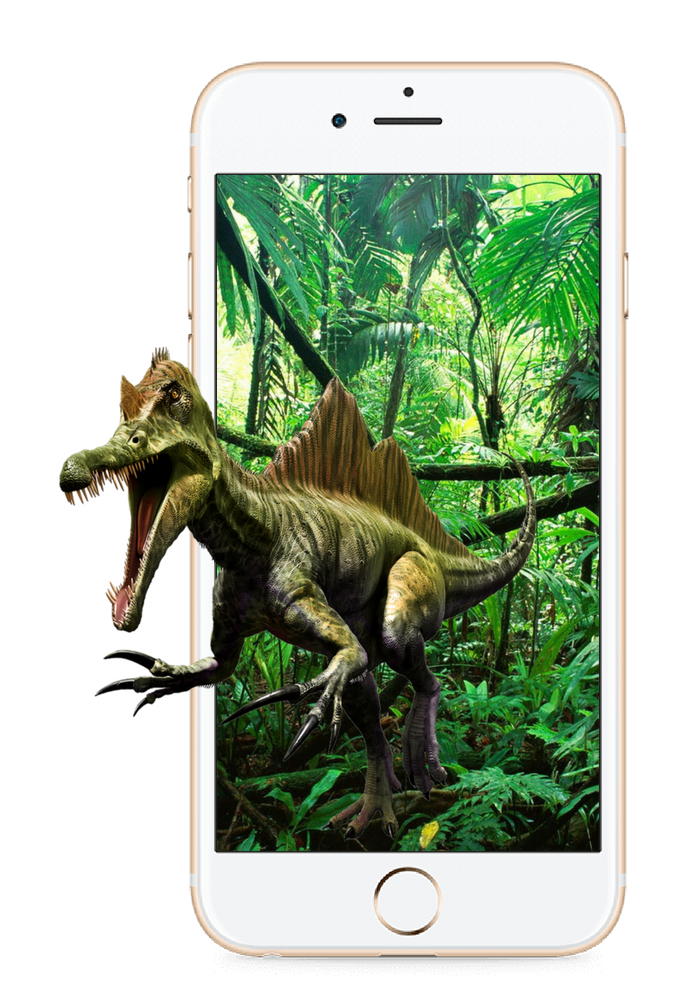
Good preparation is half the battle! Do you need an explanation about the appearance of the 3D model in the heijar app first? You can find it here. Do you need an explanation about 3D stickers? Find it here.
Have a 3D model
Heijar is enabling you placing 3D models on markers, heijar is NOT making 3D models. However, in the case you are not building your own models, we can recommend highly skilled model creators – don`t hesitate to contact us! Furthermore, there are various already build models out there for sale. Some of them even for free.
3D model features
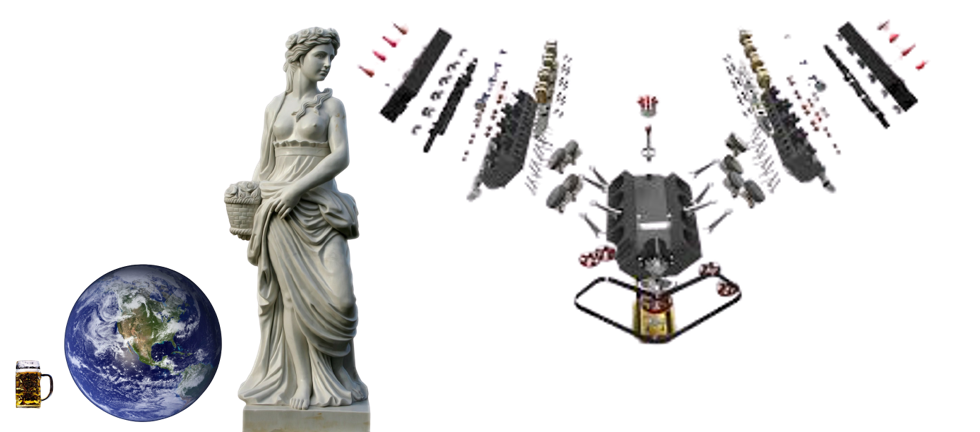
Make sure that your 3D model has the .obj format. If your model has another format, please convert it (there are various online converters out there) before you continue. In total, you will need zipped in a zip-file: .obj file, .mtl (maps texture on object) and the texture file which is eg. a .jpg, .png etc.
When you create your own model: Center your 3D model to the origin! Otherwise it will not rotate correctly!
Furthermore, size and loading time of a model are correlated. Therefore, make sure your model size suits your use case and customers. (Eg. Do your customers have a fast internet connection?) Are you in marketing and you want your customers to view a model “on the fly?” – choose a smaller model. Are you a museum or a company were at one spot wifi is available? Use our “download in advance” function, where the content is temporarily downloaded on the phone and is then also available offline. – The model sizes don`t matter. Or are you in industry and maintenance? Maybe you need large models to show a lot of details.

Thank you! This is what I neded 🙂